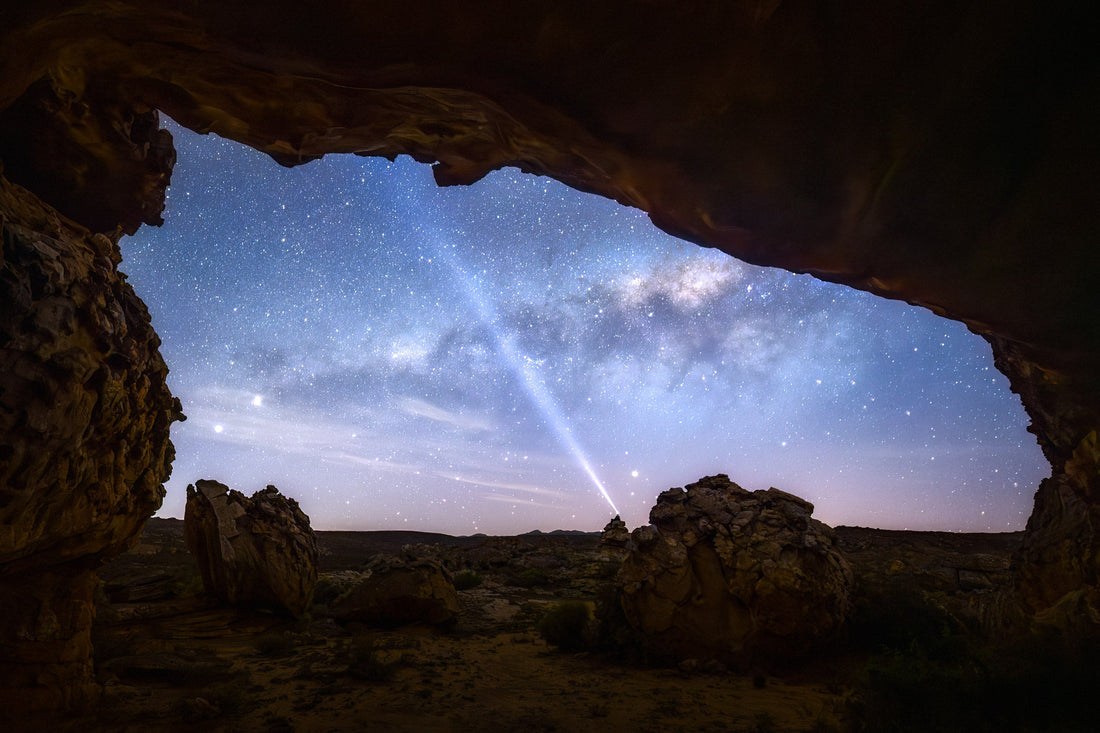
No Signal, No Problem: Milky Way Photography with PhotoPills
Kyle GoetschShooting the Milky Way is one of the most rewarding experiences in nature photography, but it can also be one of the most technical. Over the years, I’ve relied heavily on the PhotoPills app to plan my night shoots across the wild landscapes of Southern Africa and beyond. Whether you’re just getting started with astrophotography or looking to tighten up your planning process, this guide will walk you through how I use PhotoPills to nail the shot, even when you’re completely off-grid.

Why Use PhotoPills for Milky Way Photography?
The Milky Way doesn’t wait for you to be ready. It rises, sets, and moves across the sky in a predictable rhythm and knowing when and where that happens is key. PhotoPills lets you:
-
Visualize the Milky Way core’s position and movement
-
Plan compositions in advance using augmented reality
-
Pinpoint exact times for Galactic Center visibility
-
Sync your plans with light conditions like blue hour, moonrise, and more
But what happens when you lose signal out in the wild?
That’s where smart pre-planning and a bit of calibration magic comes in.

Step 1: Plan before leaving home with the PhotoPills App
Before heading out, I drop pins on all potential locations using the Planner tool in PhotoPills. I save them to the app’s library under a folder like “Cederberg Milky Way 2025” or “Namibia Astro locations.”
Once you’ve pinned your spot:
-
Set the date and time to your intended shoot (click yellow circled area)
-
Tap the Milky Way layer (the “MW” button) to activate it (click red circled area)
-
Scroll through time and see where the Galactic Core will be in the sky (green arrows)
Pro Tip: I usually check multiple dates around New Moon to give myself flexibility with weather.

Step 2: Calibrate Using the Sun (When Off-Grid)
If you're like me, you're often shooting in places where your phone screams “No Service.” That means your phone's compass can be a little off when using AR features.
Here’s how to calibrate PhotoPills in the field using the Sun:
-
Open the Planner Tool and select the Augmented Reality (AR) or Night AR button at the bottom of the screen.
-
Select Visual Calibration Button at bottom of screen and hold up your phone to the sky until you locate the sun in your field of view.
-
Use a real-world reference—say the sun is at 270° (due west)—and physically face that direction
-
If the actual sun and the PhotoPills sun do not align, then manually align them by swiping left or right on the screen (green arrows)
-
Adjust your position until the actual sun and PhotoPills depicted sun align as close as possible (red circle). Then click Confirm Calibration. Now you can plan your Milky Way position accurately in the Night AR mode.
This process helps “reset” the alignment so what you see in AR matches the actual sky—no signal required.

Step 3: Time It Right
Use the Galactic Center (GC) Visibility tool:
-
In the Planner, swipe the panels at the top until you see the Galactic Center times
-
This tells you when the core rises, reaches peak altitude, and sets
I aim to be on location and shooting at least 30–60 minutes before core rise, especially if foreground alignment is key.
Bonus: The Night AR tool is pure gold for aligning your foreground (trees, rocks, ridgelines) with the core before the sky gets too dark.

Step 4: Build a Shot List
You don’t want to be scrambling once the stars show up. With PhotoPills, I create a custom Plan for each location, tagging:
-
Core direction
-
Composition angle
-
Foreground interest
-
Time windows
You can even add notes or screenshots of what you expect to see, so when the night comes, your job is simply to execute. I rely on multiple screenshots of different compositions that i plan during the day, making it easy to find and shoot when it's dark.

Final Thoughts
Shooting the Milky Way is part magic, part method. The method is what lets you show up to the magic. PhotoPills is the bridge between the two and with a little planning and sun calibration, it works just as well in the middle of the Karoo as it does from your couch.
If you haven’t used it much yet, start small. Plan one shoot. Track one Milky Way rise. It’s all part of the process of mastering your craft. You can see my full YouTube video on how I use the PhotoPills app here:
And if you’re joining one of my astro workshops soon, be ready—we’re going deep into this tool on location.